Thursday, December 1, 2011

Assignment: Relief Tiles (3D Int/Adv)

****


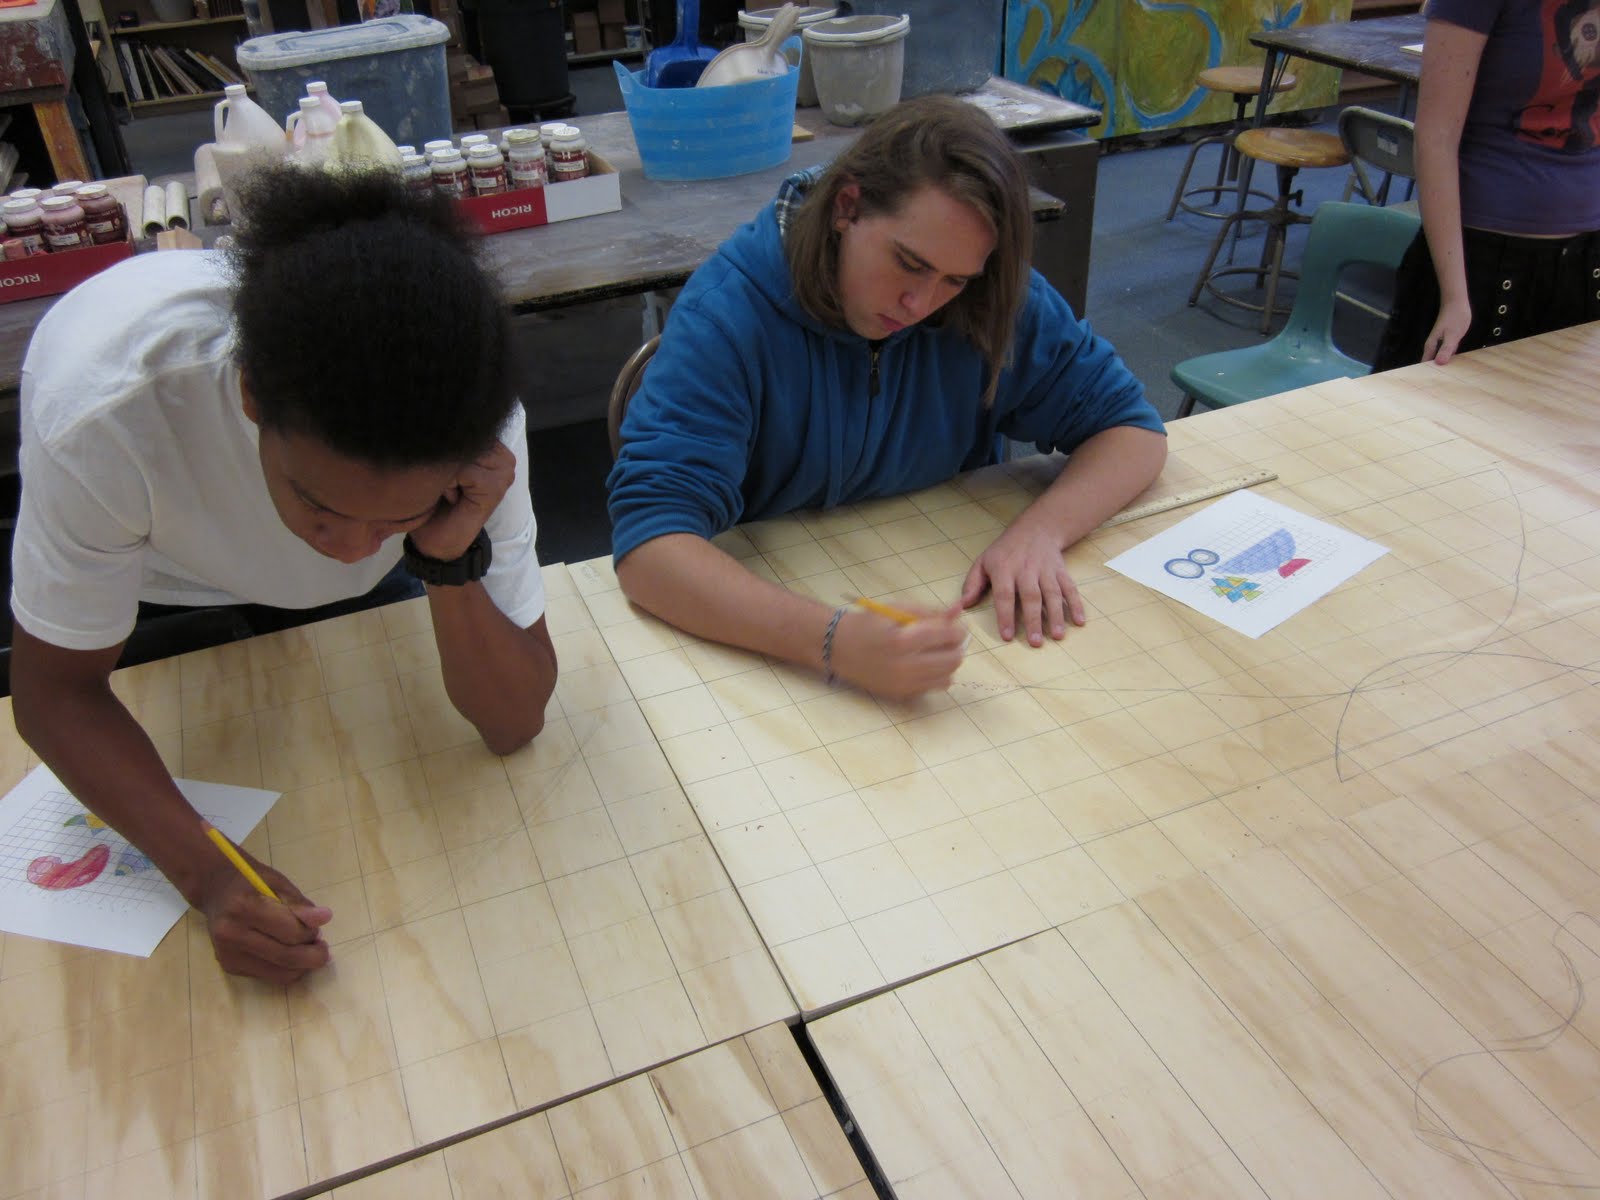
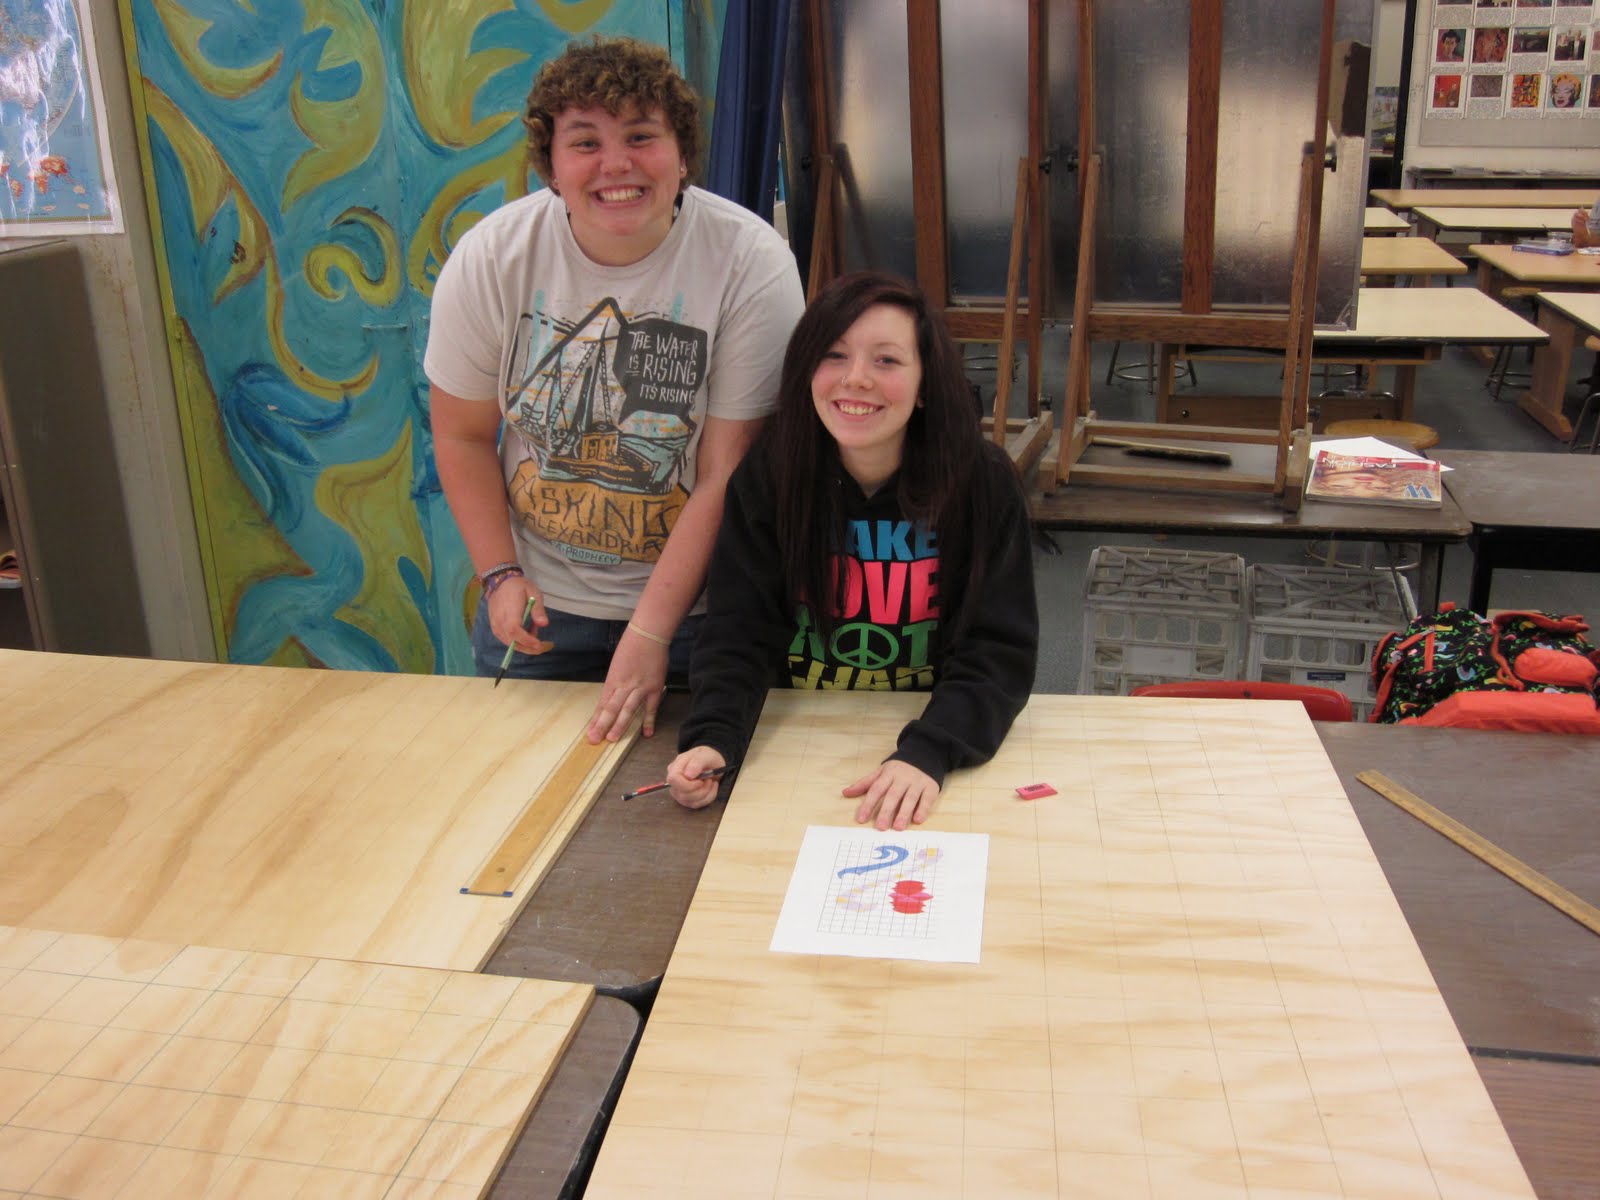
For your next project, you will be creating a set of relief tiles. Relief is a type of sculpture in which the design stands out from the surface. In stone or wood relief sculpture, the background must be cut away from the main object. In creating a relief sculpture in clay, you can cut the background away, add clay to the surface, or do both. Relief sculpture where the objects remain close to the surface is called low relief, and is sometime referred to as bas-relief. You probably have some low relief sculptures in your pocket or purse-- coins!


Relief tiles are essentially low relief sculptures.

The exact details of this assignment are yet to be determined; today you will be doing some research. You will probably be making four or six tiles for this project.

Please do some searching online for pictures of relief tiles. You may also want to take a look at some other relief sculpture as well.

TODAY'S ASSIGNMENT: find pictures of several relief tiles that you like, download the pics and drop them into a Word document. Print a copy to use as reference. Please turn this in at the end of class today; it will be returned to you during our next class period.


Tiles from Pewabic Pottery in... Detroit!

Sunday, November 13, 2011

Abstract Relief Sculpture

***
Our combined Intermediate/Advanced 3D Art class recently created an abstract relief sculpture made out of wood. It was a class project, and it was installed on an exterior wall of our school.

The project was inspired by the work of Detroit artist Charles McGee. McGee has been one of the shining lights in the Detroit art world for several decades. Originally a painter, his work now includes a wide range of styles and media, including sculpture.


Charles McGee

Here is our our finished class project:


The process:


Special thanks to our custodian Vince, who played a big part in the final installation, and to Jill and Nate who stayed after school to help with the job.

Monday, October 24, 2011

"Ugly Jugs"


Go to the link below, look at the photos, and read the information.

The Assignment has changed slightly:

1. (same as before)

2. Do not post comments on the blog. Instead, find the required number of photos of jugs and print them. You can combine them by putting them into a Word document, or you can just print them individually. Gather your pages that you have printed, SIGN ALL PAGES, staple them, and turn them in to your teacher.

Here is the LINK:

Friday, June 24, 2011

Student Art: Bracelets / Necklaces

***
This was our last project for the year for the Intermediate/Advanced class. A few of them didn't get quite finished, but close enough to show here on the blog. Great job, people!

(Click on images for a larger view)


Sarah May


Lindsey Burcar


Molly Jeffrey


Madeline Toro


Emma Jeffrey


Meg Konke


Kaitlyn Barnowski

Note: metals include copper, brass, and nickel. Everything is completely handmade, including the jump rings and chains (except for the lobster clasp on one piece).

Saturday, May 21, 2011

The Gates of Hell

---
The door to the 3D Art room was looking kind of dull. I decided to have the students create a relief sculpture on the door, based on Rodin's Gates of Hell. The medium would be paper-maché.


Rodin, Gates of Hell

After the class did some research in the computer lab, I had each student create an individual component to be attached to the door.

(click on images for a larger view)


At this point, they weren't very excited about the project. I knew what it could end up looking like, but I think they just couldn't visualize it very well. As we transitioned into our metal jewelry-making unit, they pretty much lost interest in the door.

After a while, I put the squeeze on a couple kids to paint it with primer. Now it was starting to look like something. Where it had been difficult to see with all of the newspaper showing, now we could really see what it looked like. Interest was renewed; a lot of people were stopping to look as they walked down the hall.


On to the final paint job. After a base coat of dark brown, bronze colored acrylic paint was applied. Voila!


I'm really pleased with how this project turned out. It lived up to what I had hoped for, and more! Congrats to my students for hitting a home run on this one.

Monday, May 16, 2011

AAW 10th Annual Spring Art Show

---

(click on the image for a larger view)

Map and directions

Friday, May 13, 2011

Student Art: First Jewelry Projects


Teacher sample pieces

3D Art @ AAW has recently added metal jewelry-making to our program. To start with, students are learning to fasten pieces of sheet metal together with "cold connections". Skills involve the following: cutting with a jeweler's saw, making rivets and tube rivets, connecting with rivets, adding texture, making jump rings, and adding a surface patina using a solution of liver of sulphur. At this point we are using brass, copper, and nickel.

Assignment #1: riveting sample, connecting two pieces of sheet metal; texture, patina.


Kaitlyn Barnowski


Sarah May


Molly Jeffrey


Assignment #2: pendant using two layers of sheet metal, w/ hole in top piece of metal.


Emma Jeffrey


Molly Jeffrey


Madeline Toro


Lindsey Burcar


Sarah May


Caitlin DeMara